
BuyVM Configure AnyCast IP
I originally planned to apply for ASN+IPv6/44 to configure an Anycast myself. Later, I found that the cost of applying for ASN exceeded the budget (but I had no money), so I could only turn to the Anycast VPS of the lower cost BuyVM.
Preparation Phase
First of all, you need to buy three VPSs of their home, located in Luxembourg-Europe, Las Vegas-West America, New York or Miami-East America (I bought New York).
About configuration: any configuration of VPS will do, as long as you can buy it (Luxembourg is often out of stock, but when I bought it, it went very smoothly).
Regarding location: Officially, users are required to have VPS in all four regions, but maybe two can also be used? (I didn’t try it, but one definitely doesn’t make sense
About routing: The official introduction is that European visitors will be routed to Luxembourg nodes; US visitors will be routed to Las Vegas, New York or Miami nodes depending on their location; Asian visitors will be routed to Las Vegas node, South American visitors will be routed to Miami node etc. (PS: In actual use, it is not necessarily as officially introduced. Generally, the closest node of the route is selected according to the routing table)
About DDOS Defense: You can open a ticket for DDOS protection for AnyCast for $5.00 per month, powered by Cloudflare Magic Transit.
In progress
Apply for AnyCast IP
Log in to the Stallion console and click “Network”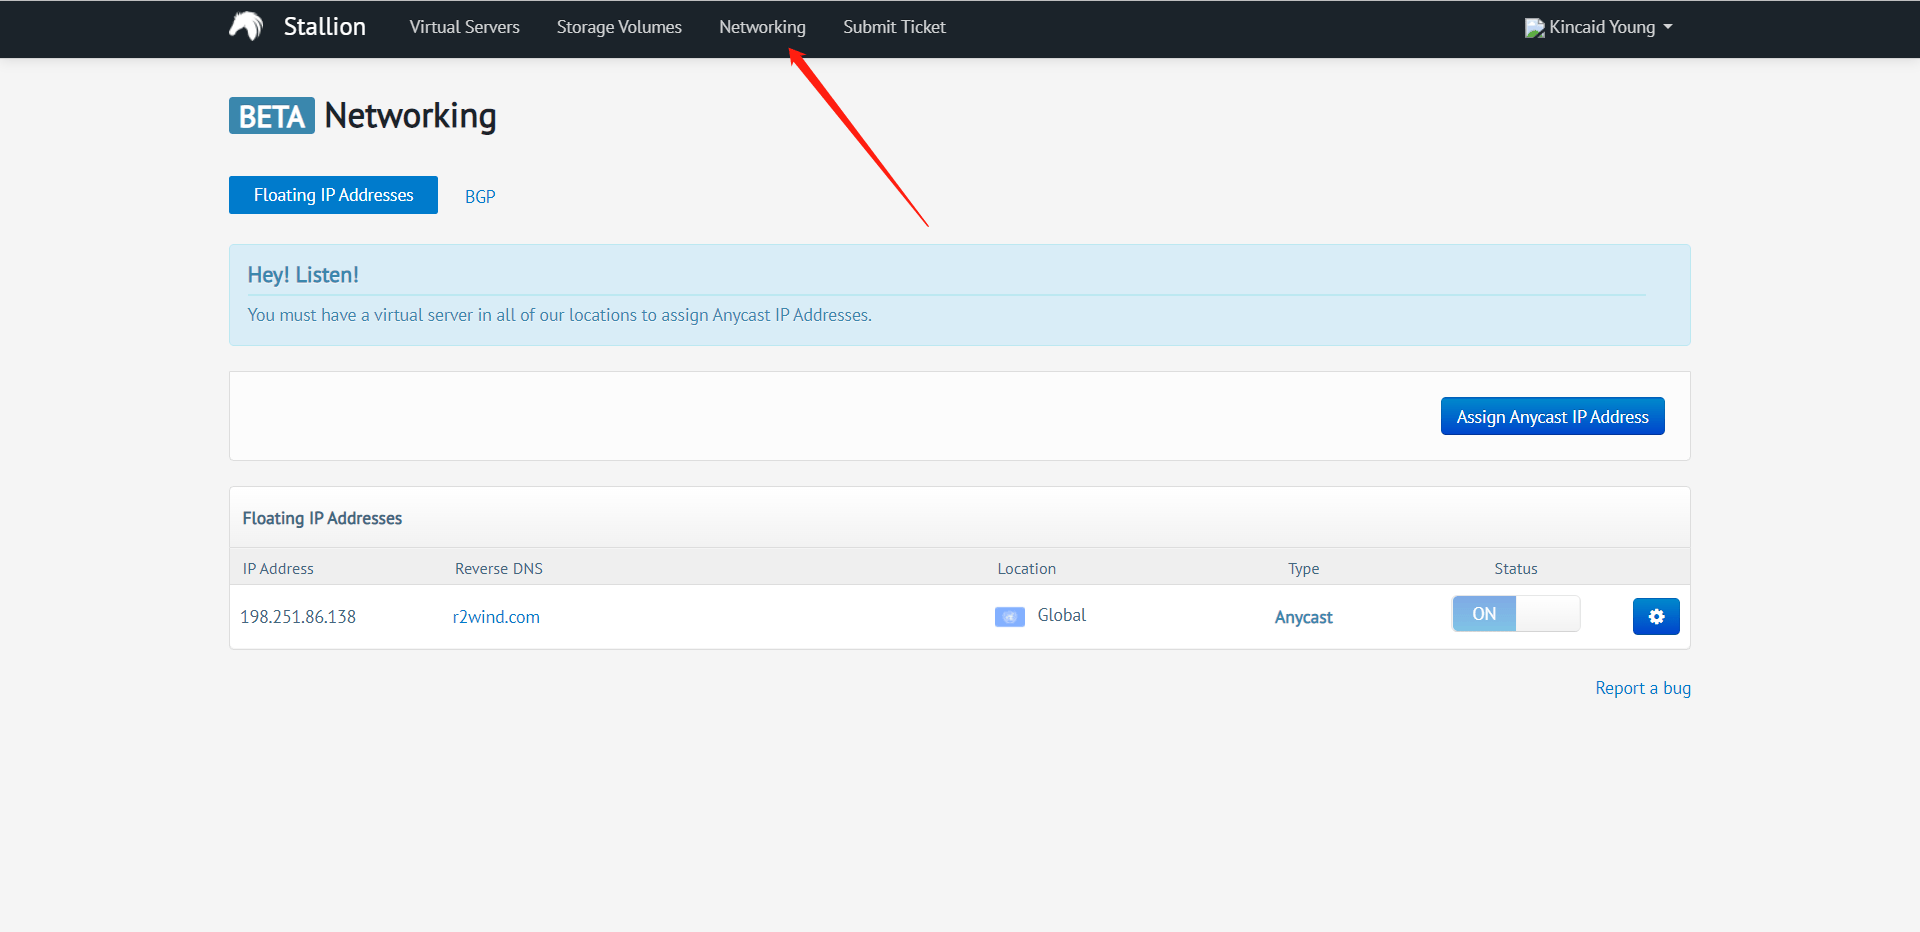
Click “Assign Anycast IP Addresses”, select the number of IPs to apply (up to five per person) and click “Okay”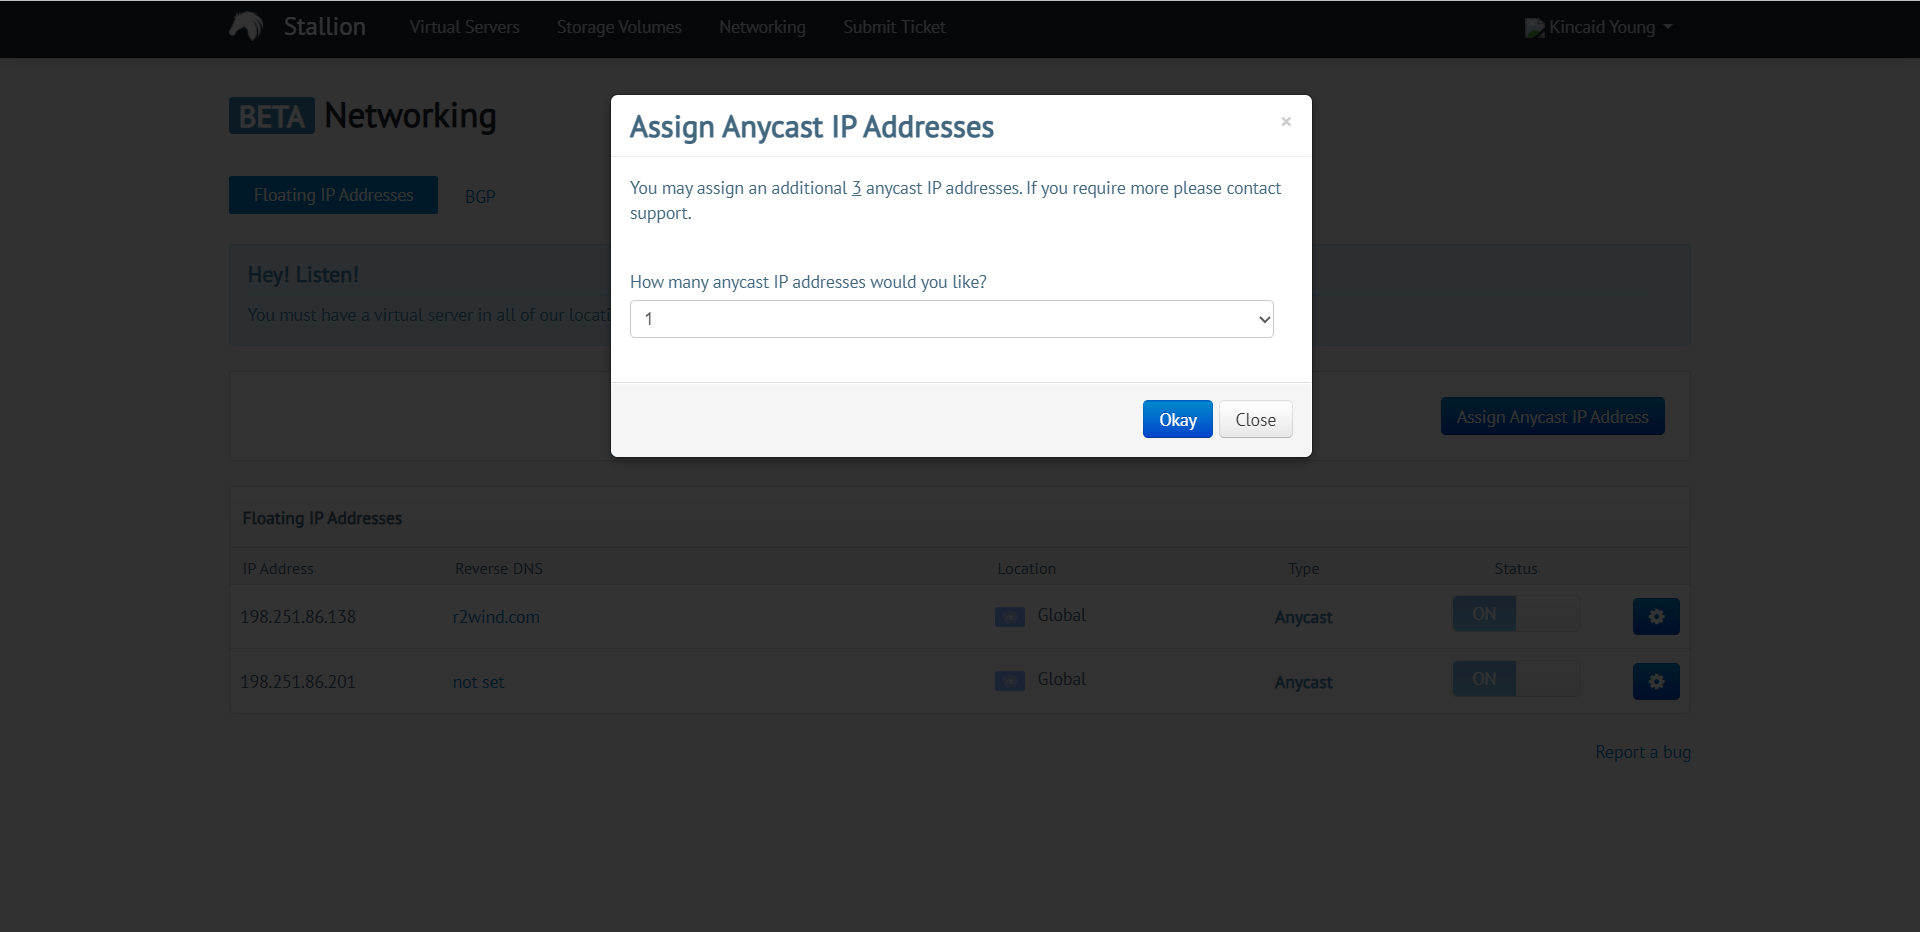
After the application is completed, you can see the Anycast IP you just applied for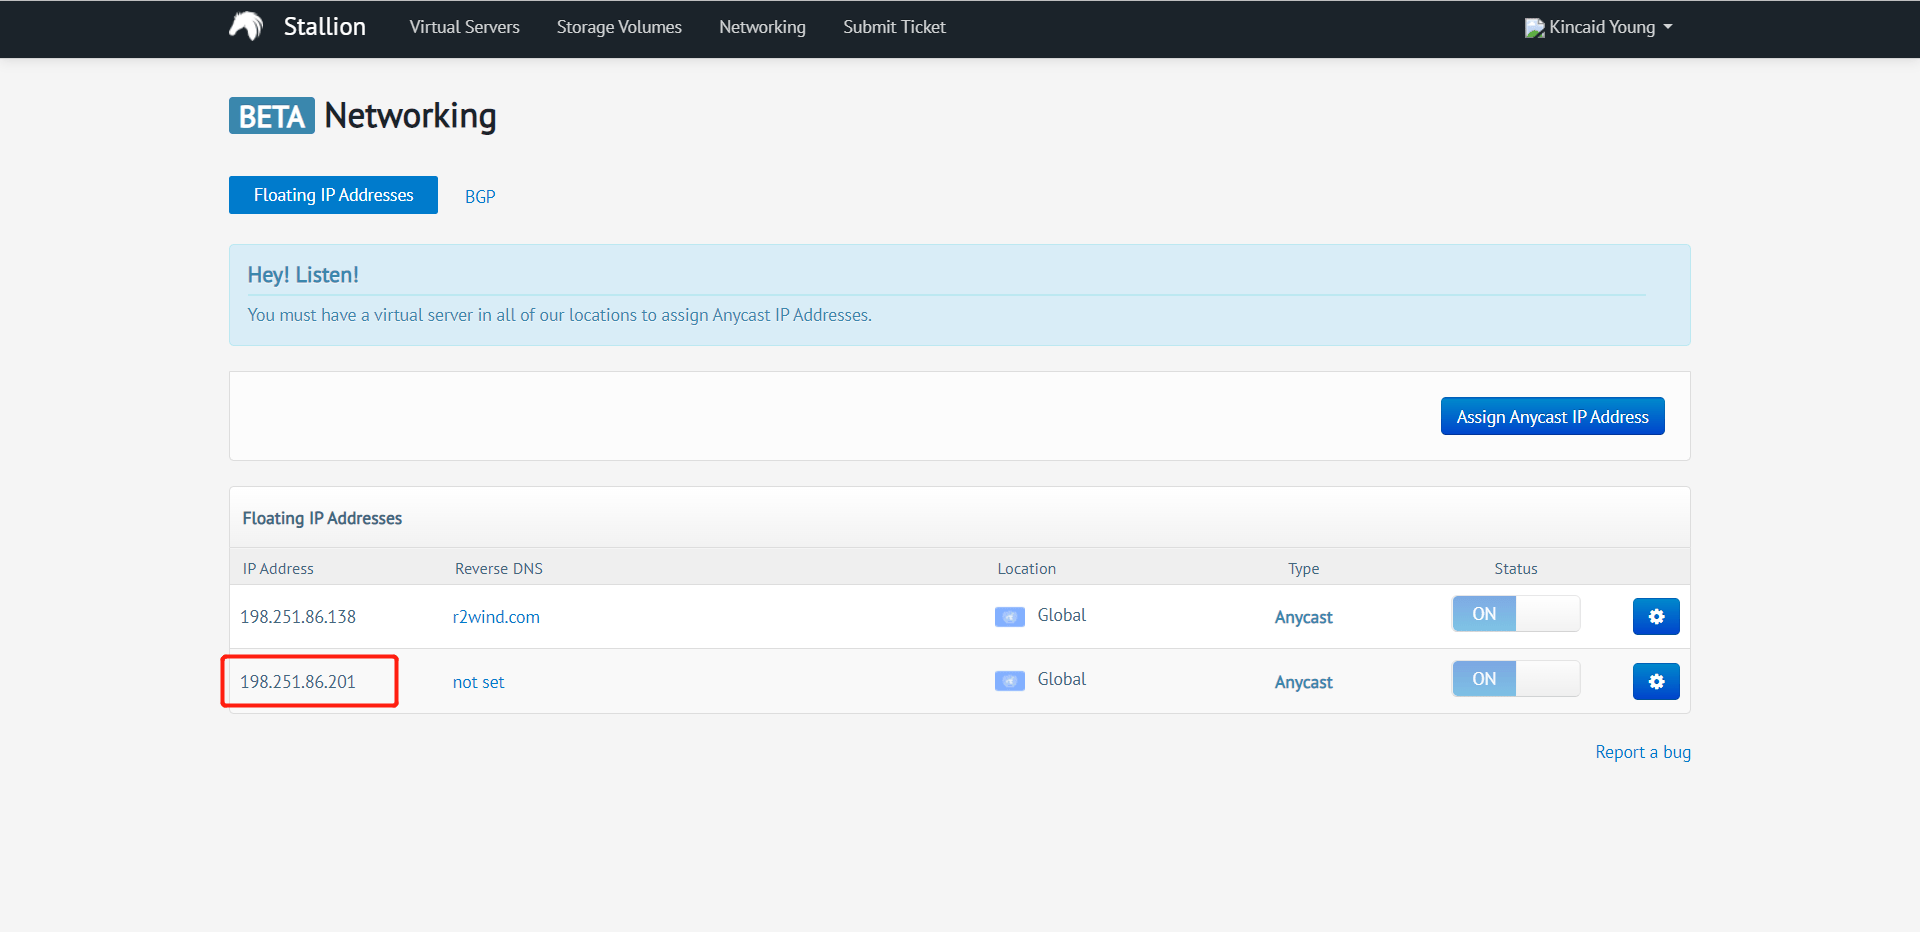
Configure AnyCast IP
Log in to SSH to edit the /etc/network/interfaces file (you can use vim or nano, but remember to install the corresponding software in advance; there is also a convenient way to download the configuration file to the local editor and then upload it)
Here is an example of vim:
1 | vim /etc/network/interfaces |
Press “i” to edit, after editing, press “ESC” and enter “:wq” to save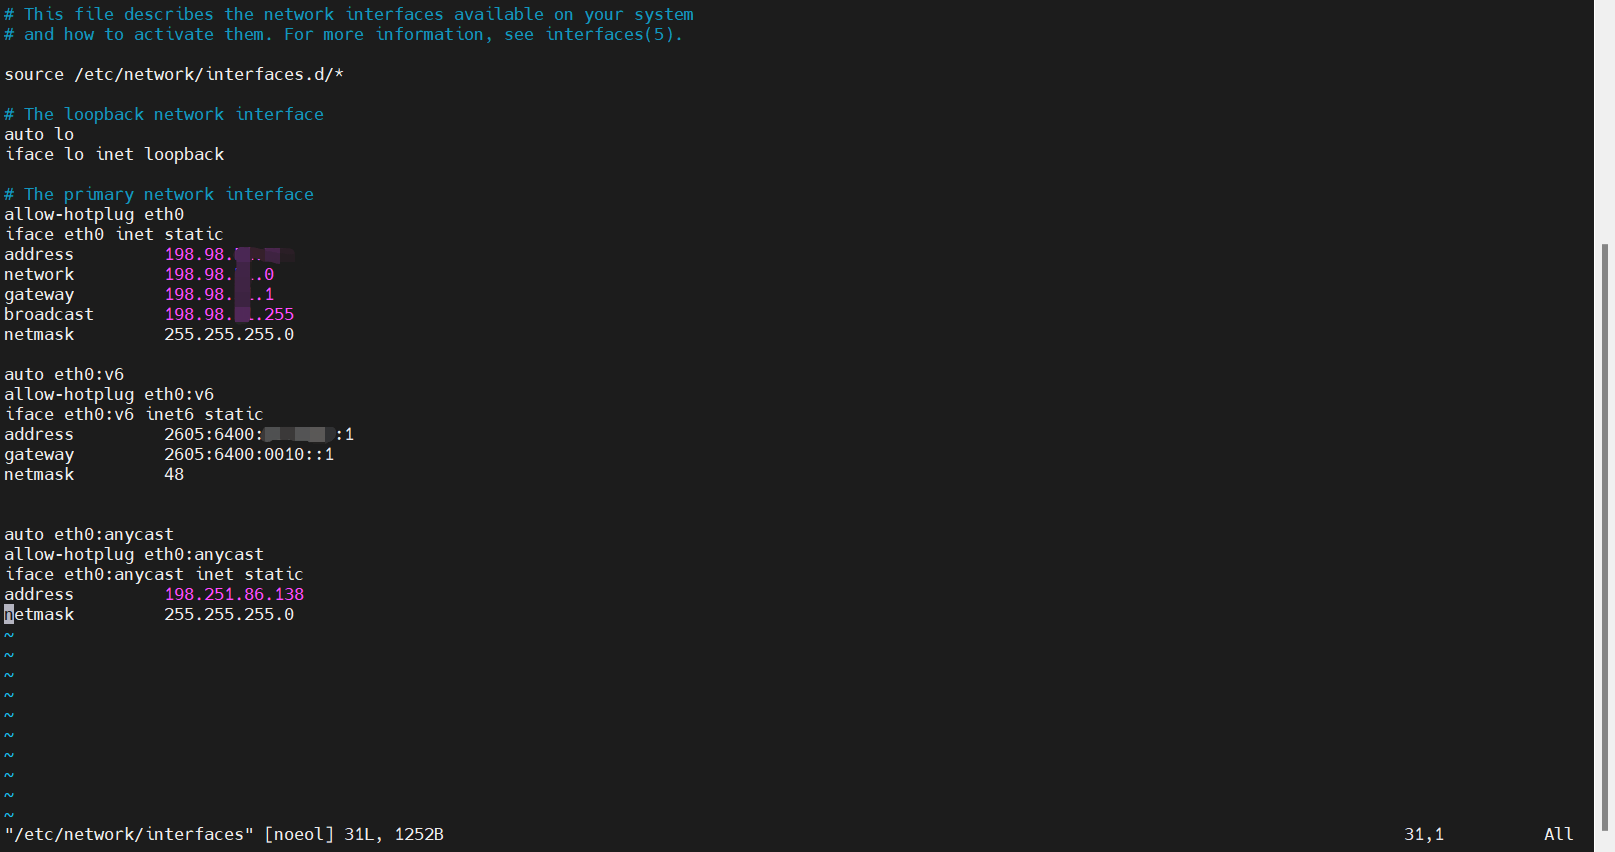
Configuration file example: (Notes are for the convenience of explanation, and it is recommended to delete this extremely scribbled note in the actual configuration)
1 | # This file describes the network interfaces available on your system |
After the configuration is complete, reboot to restart the server.
1 | reboot |
Note: All servers require configuration
Verification stage
You can verify whether the configuration is complete through online traceroute or online ping at multiple locations. If the configuration is incorrect, an empty route or an unreachable ping will result.